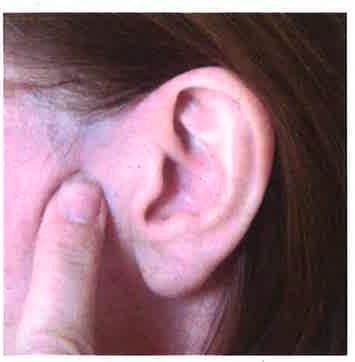
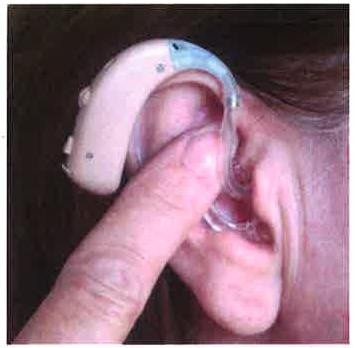
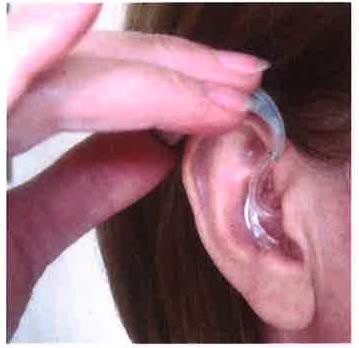
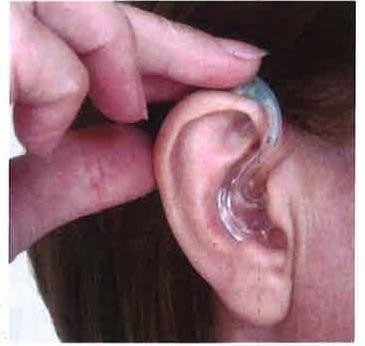
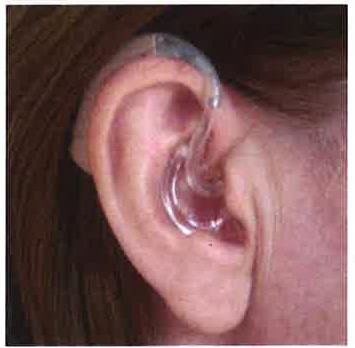
This leaflet provides instructions on how to insert your right hearing aid. If you would like further information, or have any worries, please ask your audiologist.
![](https://www.royalfree.nhs.uk/application/files/thumbnails/xs/5516/8986/0149/MicrosoftTeams-image_11.png)
![Step 1 & 2](https://www.royalfree.nhs.uk/application/files/5216/9504/9005/RFL702_How_to_insert_your_right_hearing_aid_on_an_earmould_Page_1_Image_0003.jpg)
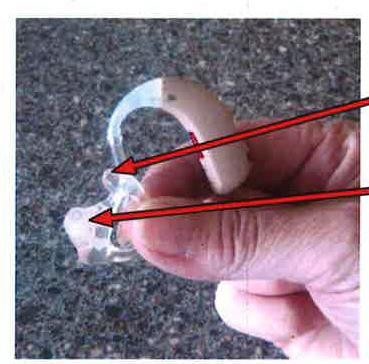
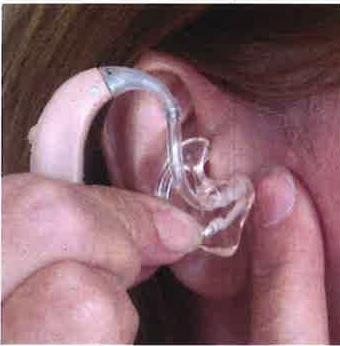
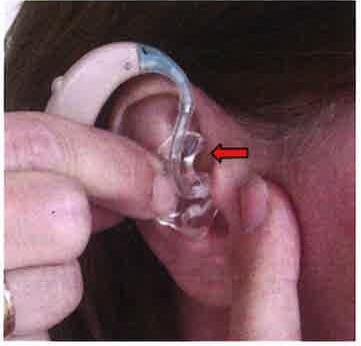
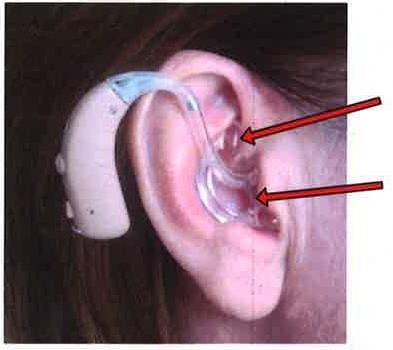
2. The upper part shown (top arrow on the picture) is placed under the crease at the top of the ear (top arrow on the picture). The lower part shown (bottom arrow on the picture) goes into your ear canal (bottom arrow on the picture).
![Step 3](https://www.royalfree.nhs.uk/application/files/8616/9504/9002/RFL702_How_to_insert_your_right_hearing_aid_on_an_earmould_Page_2_Image_0004.jpg)
![Step 4](https://www.royalfree.nhs.uk/application/files/6116/9504/9002/RFL702_How_to_insert_your_right_hearing_aid_on_an_earmould_Page_2_Image_0002.jpg)
![Step 5](https://www.royalfree.nhs.uk/application/files/7516/9504/9002/RFL702_How_to_insert_your_right_hearing_aid_on_an_earmould_Page_2_Image_0003.jpg)
![Step 6](https://www.royalfree.nhs.uk/application/files/9716/9504/9003/RFL702_How_to_insert_your_right_hearing_aid_on_an_earmould_Page_3_Image_0002.jpg)
![Step 7](https://www.royalfree.nhs.uk/application/files/4516/9504/9003/RFL702_How_to_insert_your_right_hearing_aid_on_an_earmould_Page_3_Image_0003.jpg)
![Step 8](https://www.royalfree.nhs.uk/application/files/9316/9504/9003/RFL702_How_to_insert_your_right_hearing_aid_on_an_earmould_Page_3_Image_0004.jpg)
![Step 9](https://www.royalfree.nhs.uk/application/files/1316/9504/9004/RFL702_How_to_insert_your_right_hearing_aid_on_an_earmould_Page_4_Image_0002.jpg)
![Step 10](https://www.royalfree.nhs.uk/application/files/7116/9504/9004/RFL702_How_to_insert_your_right_hearing_aid_on_an_earmould_Page_4_Image_0003.jpg)